How to successfully sow flower seeds
Has the tingling in your fingers already started?
The days are getting longer, the sun is getting warmer, and the morning birdsong is putting us in a good mood and making it unmistakably clear: Spring is almost upon us. Soon, soon, we'll finally be able to get back to work in the garden.

A large part of my gardening year is spent sowing seeds and nurturing the plants. Every year, I'm fascinated and in awe at how these little (sometimes TINY) seeds turn into such beautiful flowers. Aside from this miracle, and from a more pragmatic perspective, sowing your own plants is an extremely inexpensive way to grow a garden full of a wide variety of flowers. And the choices are almost endless! If you can't find the exciting varieties you're looking for at the garden center or nursery, the whole world of online shopping is at your fingertips.
Growing your own plants is really not difficult and so rewarding.
That's why I want to show you step by step today how to tackle this incredibly fulfilling and fascinating task correctly.
In summary, the most important tips for sowing:

-
Don't start too early. I don't know how many times this has happened to me: I've had strong cosmos or zinnia babies in early April, ready to see the sun, only to become thin, long, and desperate in their search for light. Wait and see. Summer is long, and it's in their best interest to produce many blooms (and thus many offspring).
-
It sounds so simple, and it actually is: Never let your seeds dry out . Once they dry out, they're usually dead.
-
Make sure there is enough light.
-
Choose the right soil. Your little plants don't need high doses of nutrients yet. Ideally, you should use a sterile, fluffy potting soil that is formulated specifically for the needs of young seedlings.
-
Are your seeds light germinating or dark germinating ?
-
Do your seeds prefer warm or cool temperatures when germinating ?
-
Are these plants easy to repot or should you sow them directly outdoors ?
-
Get high-quality seeds . Seeds are living seeds and should be stored properly. A revolving shelf next to the supermarket checkout is not an ideal storage location.
-
Carefully acclimate your seedlings to life outdoors.
-
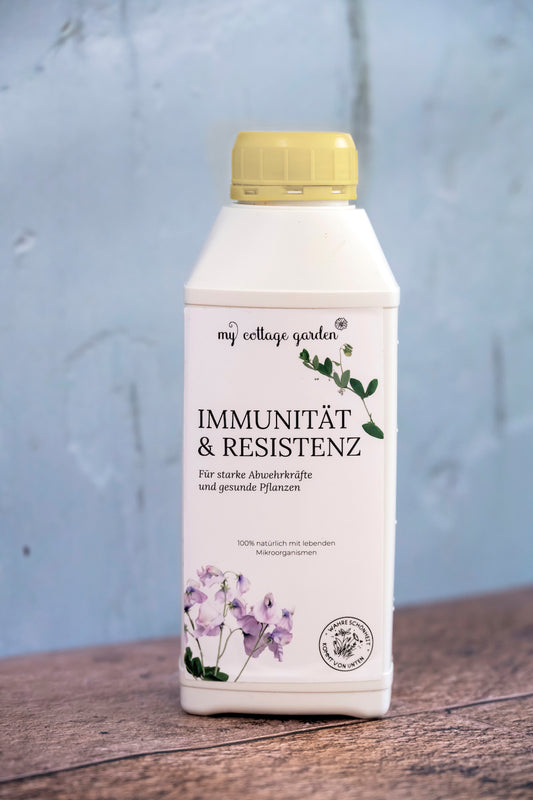
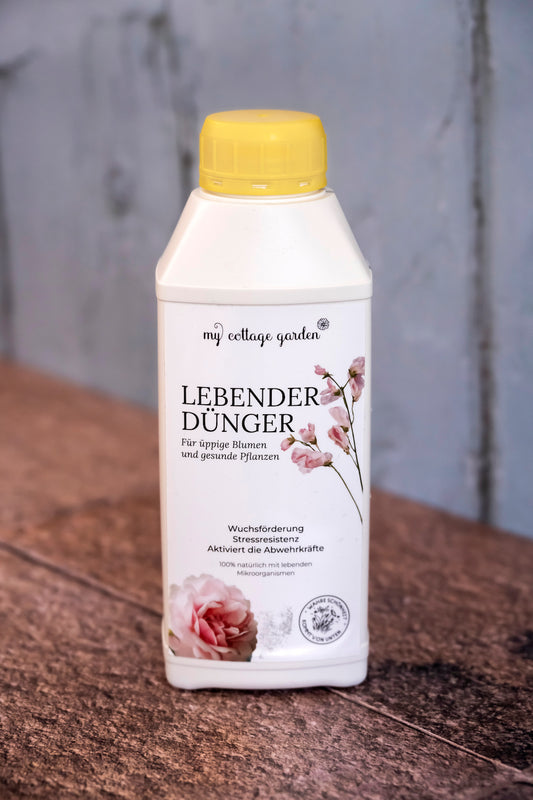
Provide them with food early .
-
Repot them as soon as they have "outgrown" their nursery pots.
-
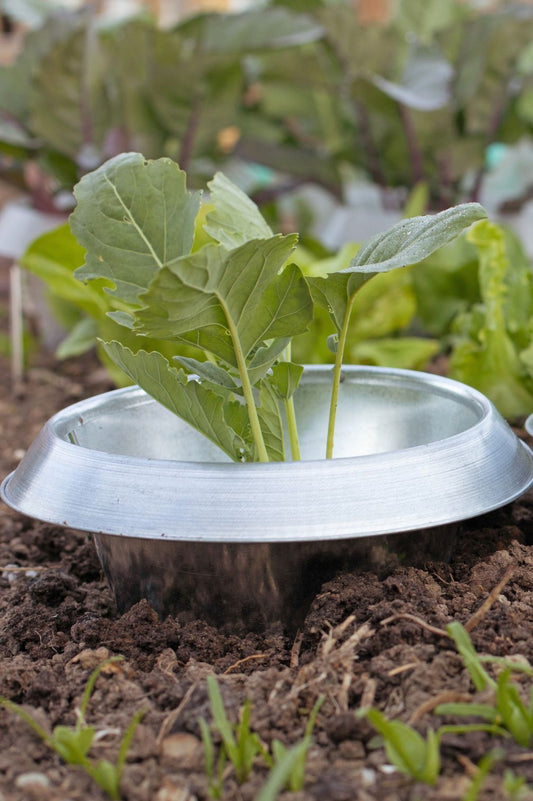
Protect them from snails during the first few weeks. Birds also like to eat the tender green leaves.
-
Store your seeds in a dark, cool place . You can keep them for a few years, but the germination rate (i.e., how many seeds hatch) will likely decrease from year to year.
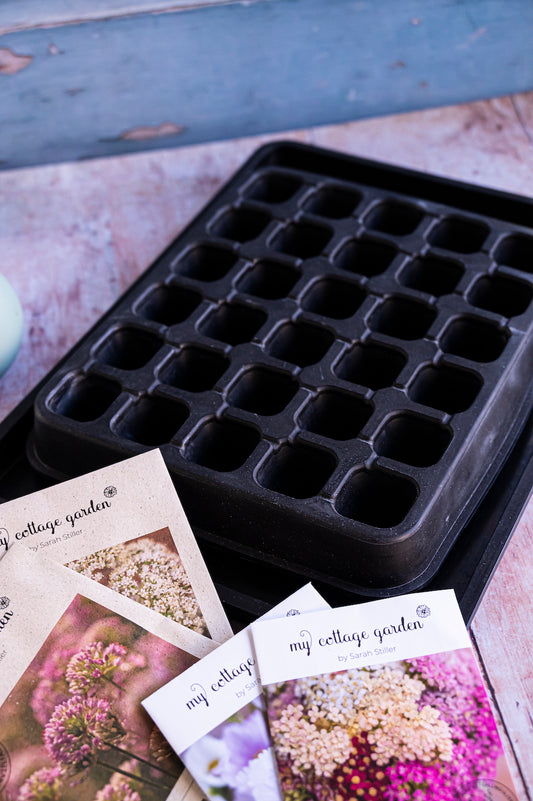
For successful indoor sowing you need:

-
Pots, growing trays , bowls (with holes), egg cartons or a soil ball press
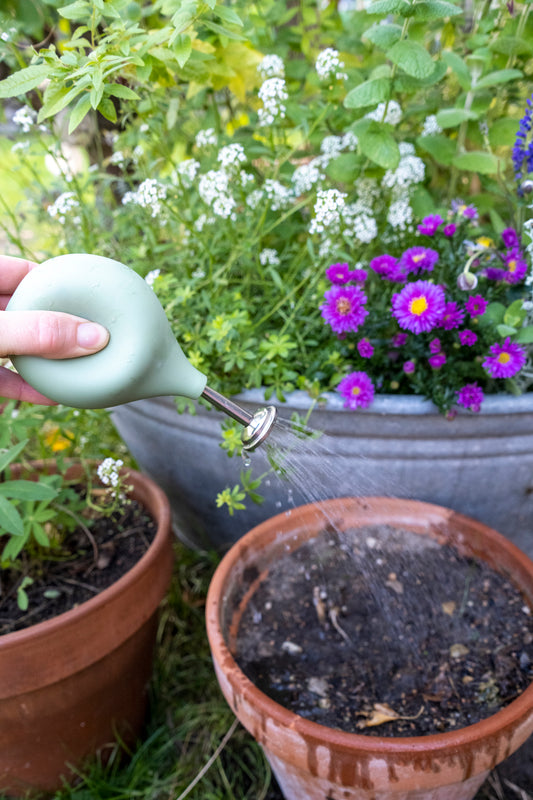
-
A "gentle" watering option. This could be a perforated water bottle cap or a ball-shaped shower head .
-
Growing soil
-
good light
-
seeds

Finally there are sustainable, long-lasting growing trays .
No plastic, but 100% natural rubber, FSC certified.
And here's how it works:
-
Water the soil before sowing the seeds. Small seeds like chamomile or snapdragons would be washed away immediately.
-
Fill the pots with moist soil.
-
Carefully place the seeds on the soil. If the seeds are very small, it's best to do this with a thin knife or other fine tool.
-
Press it.
-
Pay attention to whether the plants are light- or dark-germinating . Cover the light-germinating plants with little to no soil. Dark-germinating plants can be planted right into the soil, but not too deeply. Light-germinating plants include columbines, helichrysum, chamomile, and yarrow. You often find confusing and contradictory information online. If you're unsure, just try it out. That's what I do... and sometimes both work ;-)
-
Keep the soil moist, but not soggy. Water shouldn't pool.
-
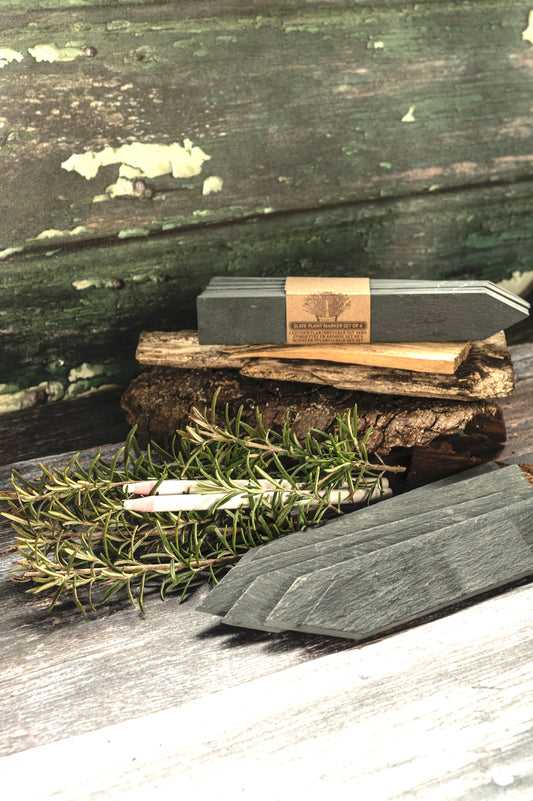
Always label what you sowed where. How many times have I thought to myself that I'll definitely remember: Nope, I didn't.

I tested it: vetch seeds actually germinate faster if they are soaked in water for 24 hours before planting.
Place all seeds in a bright place (even the dark germinators), but away from direct sunlight.
A windowsill is truly only a temporary solution and rarely produces strong, straight plants. Especially in early spring, the days are still too short, and the pane filters the light even further. Your seedlings will stretch toward the window and become increasingly longer, thinner, and more fragile. Invest in grow lights, then you can grow your plants anywhere—even in the basement. Most plants need a day/night cycle. 16 hours of light and 8 hours of darkness is ideal. With a timer, you don't have to worry about anything.
Instead of a lamp, you could also use this as an emergency solution:
Take a cardboard box and cut off one long side. Glue aluminum foil to the opposite side. Place the box with the open side toward the window and place your seedling pots inside. This will reflect the light.
As your plants grow, they'll need more space. They'll need to be moved to a larger pot. Ideally, they're ready to go outside by then. Do not plant out frost-sensitive seedlings before the Ice Saints. Cold-tolerant plants (Cool Flowers) can be planted outside 6-8 weeks before the last frost with a little protection.

Accustom your little ones to the sun, cooler temperatures, and outdoor life gradually. If you suddenly take them out of their warm, evenly temperate house and force them to immediately deal with real sun and temperature fluctuations, they will become extremely stressed. They will then stop growing, get sunburned (no joke), and could become stunted. Extend their outdoor adventures each day, starting in the shade and sheltered from the wind. Then allow them to be in the sun for a few hours. After about a week to 10 days, they will be ready for life outside.
When planting them in the garden, avoid planting them in the midday sun/heat. Plant them in the morning on a gray day instead. Water them well for the first two weeks to help them establish.
For successful outdoor sowing you need:
-
Pots, growing trays, egg cartons, or a soil baller, or they can be planted directly into the bed. The bed should be weed-free and loose.
-
A "gentle" watering option. This could be a perforated water bottle cap or a ball-shaped shower head.
-
Growing soil
-
seeds
And here's how it works:
As with indoor sowing, steps 1 to 6 apply.
It's best to place a net over the pots or seed trays to prevent birds from getting the seeds. If you're worried about snails, coat the pots with Schnexagon .
Repot them or plant them directly in the bed when they have outgrown their pot.
Keep in mind that poppies, lady's mantle, cornflowers, and rayed broadleaf, for example, are best sown directly and shouldn't be pre-grown. If they're too crowded, you'll need to prick them out (remove the weakest and smallest plants. This is a task I really hate and always try to avoid) to give them enough space to develop healthily.
Protect them from snails during the initial period. Use snail collars, sheep's wool, collect the snails, or, in exceptional cases, use snail pellets (I highly, very reluctantly recommend this).

Care after sowing:
-
Provide your brood with water regularly. Avoid waterlogging.
-
You don't need to fertilize at first. Your plants would grow too quickly, and the roots wouldn't be able to keep up. However, once they grow larger and form their first true leaves (i.e., after the two cotyledons), the potting soil will eventually become insufficient. Ideally, you should use a diluted, organic liquid fertilizer. Regarding fertilization in general, over-fertilization is worse than too few nutrients. It's better to start slowly and observe. Keep in mind that some plants (e.g., cosmos) produce more leaves than flowers when fertilized. Most native wild plants also don't need to be fertilized.
-
Continue to pay attention to good lighting conditions.
And so we start into a new gardening year.
Everything lies ahead of us. Will it be a sunny spring? A dry summer? A golden autumn? We don't know. But it will be colorful. Absolutely.